Creating low poly 3D scenes with Spline
27/01/2021I've been wanting to skill up in 3D design for some time but it's always something I've pushed down the list of things I want to learn because of the multiple barriers to entry.
Some softwares like Houdini or Cinema 4D are quite expensive if you're not going to use them everyday. You can always use free trials but, personally, I can't always be sure I will have the time to play around in the (max) 30 days after I start the trial.
There are free options like Blender that I've tried in the past, but I remember a friend telling me it's easier to use if you have an external keyboard and mouse, which is not my case at the moment.
Besides, there's also a commitment of time that comes with diving into 3D design. The user interfaces of these softwares can be quite complex and you often have to spend some time understanding how to use them before being able to create anything.
I had basically accepted that I would not be doing any 3D design for a while, until I came across Spline.
Spline describes itself as a 3D design tool for web experiences. It's currently in Beta and after trying it last night, I love it! It's not as fully-featured as the other softwares mentioned above but for a beginner like me, it's perfect.
In only a few hours, I was able to create this low-poly 3D scene, without following any tutorial!
If you want to play around with it, Spline let's you export your scenes for the web so here's the interactive demo.
If you're interested in learning a bit more, here's a quick overview.
The interface
When you launch the software the first time, here's what the interface looks like:
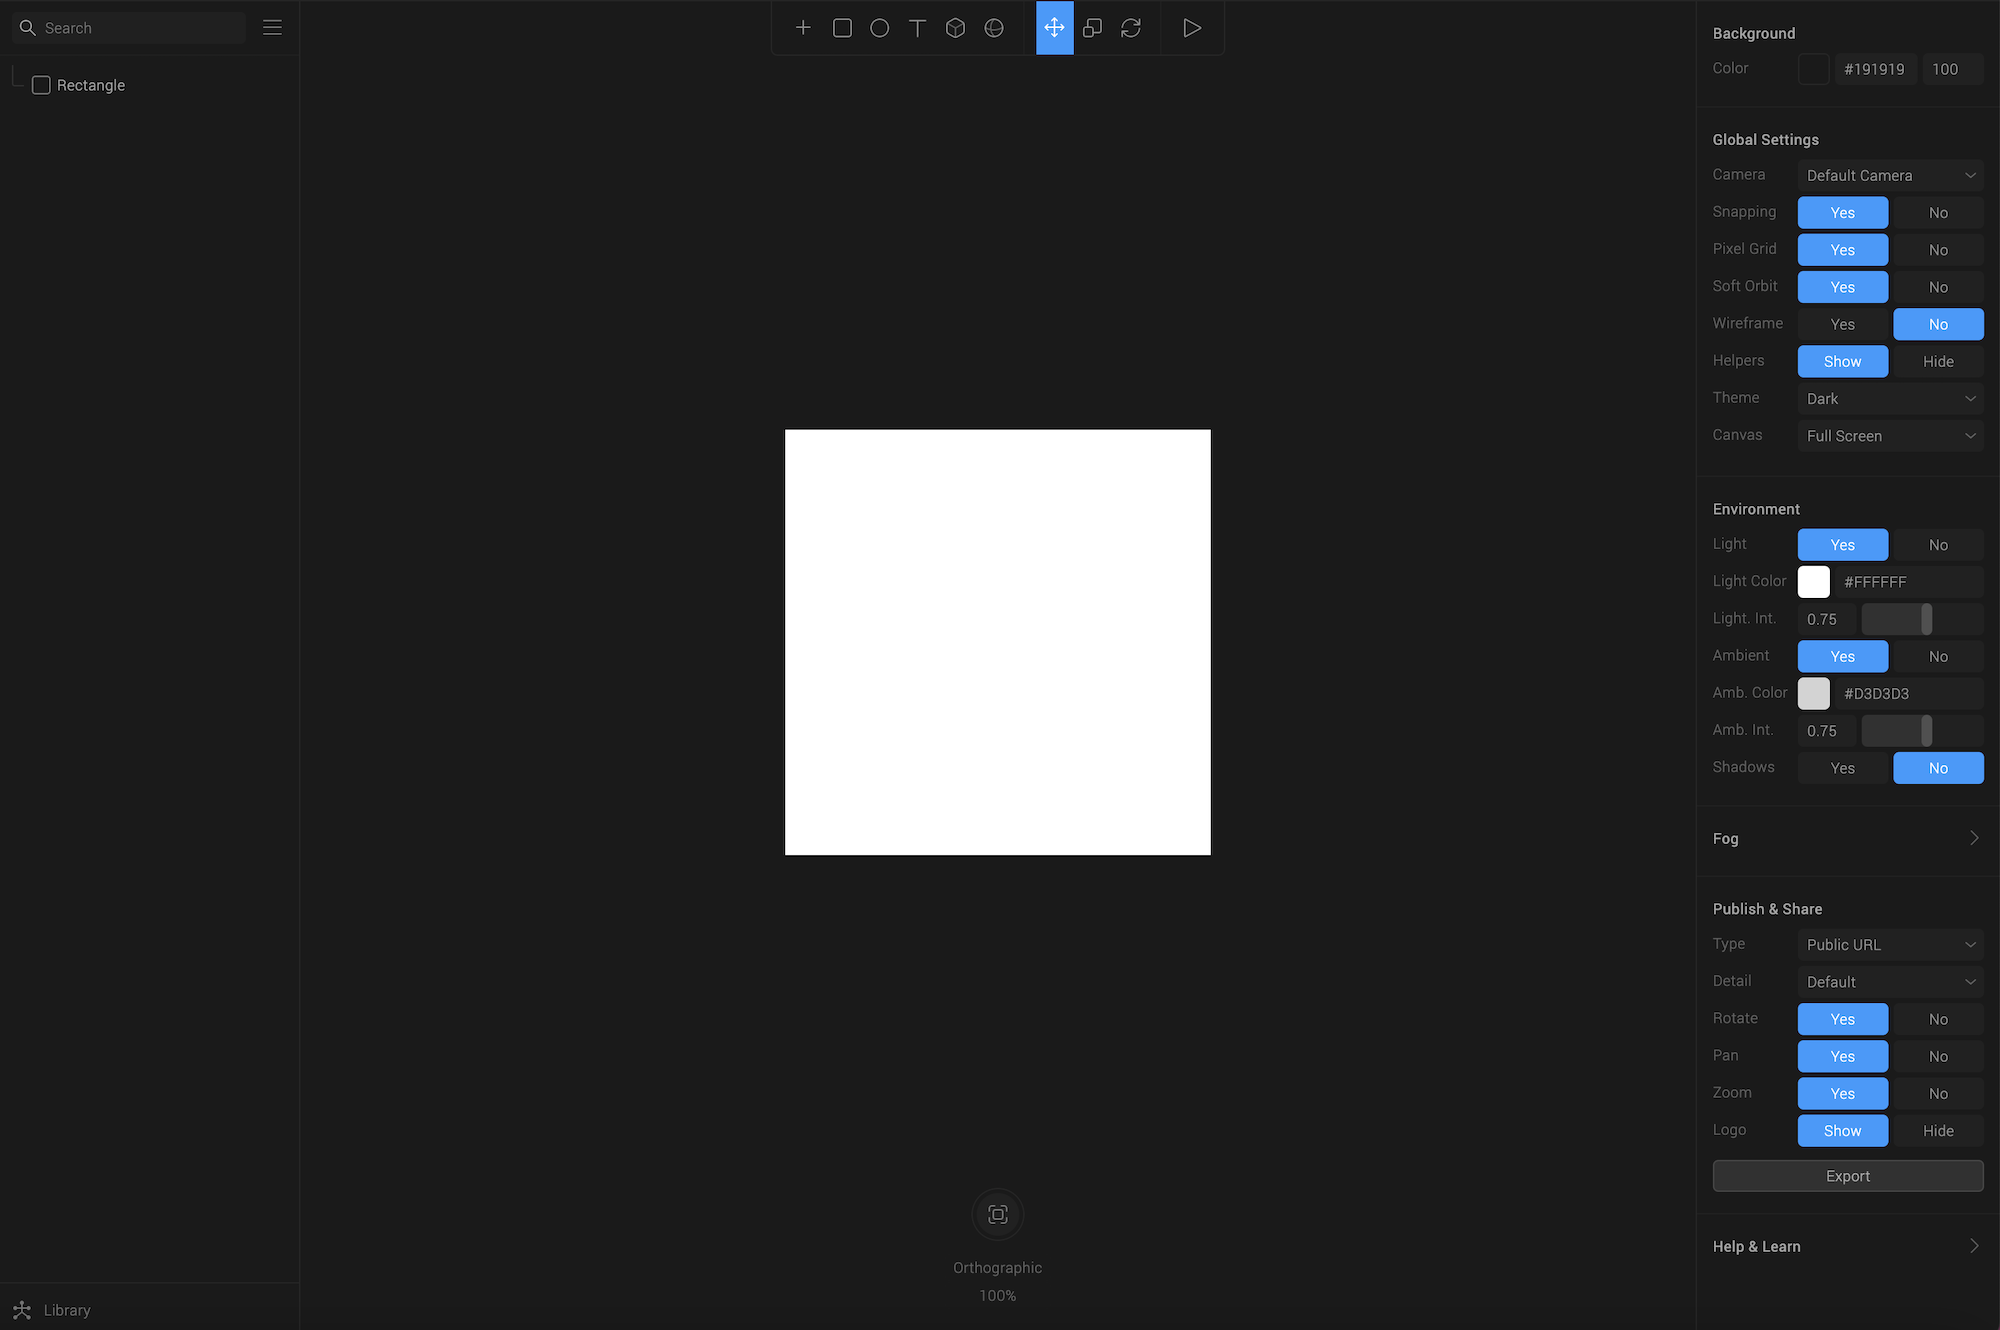
On the left, you have a panel where you'll see the different objects added to your scene. If you've used design tools like Photoshop or Figma, it's like your layers panel. You can group objects together, order them, etc...
In the middle is your scene. At the top, you have the menu bar to select the type of object you'd like to add, and at the bottom, you have details about your current camera.
On the right is the panel where you'll be able to change the parameters for each object you add to your scene. For example, the size of a cube, the position of a light, etc...
Creating 3D objects
Here's a quick demo showing how to add a couple of objects to the scene.
As mentioned above, creating 3D objects can be done by selecting the type of object you'd like to add to your scene from the top menu.
Once selected, you can add it by clicking and dragging your mouse.
You can then change its position, size and rotation from the 3 options in the menu bar or do it from the parameters panel on the left.
You can add both 3D and 2D shapes.
2D shapes include:
- Rectangle
- Ellipse
- Triangles
- Stars
- Polygon
- Text
3D shapes include all the following shown in the screenshot below:

Adding lights
Here's a quick demo adding a point light to the scene.
Three types of lights can be added:
- Point light
- Directional light
- Spot light
Lights can have their position, scale and rotation changed the same way as other objects. You can also change the color of the light to set different moods in your scene.
Animation
Another really cool feature is the ability to animate your objects based on some user events! Here's a demo rotating a cube when hovering over it.
The user events available so far are:
- Mouse down
- Mouse up
- Mouse hover
- Key down
- Key up
- Start
In the demo above, I only added 1 extra state but you can add more if you want to create more complex animations.
You can also modify parameters such as the duration, delay and transition type of the animation.
Exporting for the web
Finally, as Spline is focused on creating 3D web experiences, you can export your scene for the web in different formats.
As a public URL
Exporting as a public URL allows you to send your scene to anyone just by sending them that URL. Additional options can be customised for the resolution of the scene and if you'd like it to be interactive with the ability to pan, zoom and rorate.
The format of the URL is the following: https://my.spline.design/isometricscene-b63e094d94382e8bc4608f293e87fba4/
This option also let's you copy an iframe element if you'd like to embed your sketch on another website.
As web content
Exporting as web content downloads a zip file to your computer which contains an index.html file, assets and js folders containing the code to display your scene.
As an image or video
You can export your scene as a JPG or PNG, or as a video of type WebM, mp4, gif or image sequence. When exporting as a video, you can customise a few options including the frames per second (FPS) and duration.
Overall, I'm personally really impressed with this tool and am really looking forward to creating more 3D scenes! Even though it is lacking some features that other softwares have, the ease of use is my favorite thing about it and for a beginner like me, this is definitely more important.