Setting up a RaspberryPi without monitor and keyboard
05/04/2021For a long time, I thought the only way to do the initial setup of a RaspberryPi (connecting the device to a WiFi network) could only be done via the GUI using a monitor and keyboard.
However, I recently learnt that you can actually do this using only another computer, which was a game changer for me! If you're finding yourself in a situation where all you have is the Pi, here's how to connect it to the network, and access the GUI remotely.
Material needed:
- RaspberryPi + power source
- SD Card
- RaspberryPi Imager software
- VNC Viewer software
- Another computer
Before getting started, insert your SD card in your computer or in a SD card reader.
Downloading the OS
To be able to use the RaspberryPi, you need to download and install one of the operating systems available.
An easy way to do this is with the Raspberry Pi Imager software.
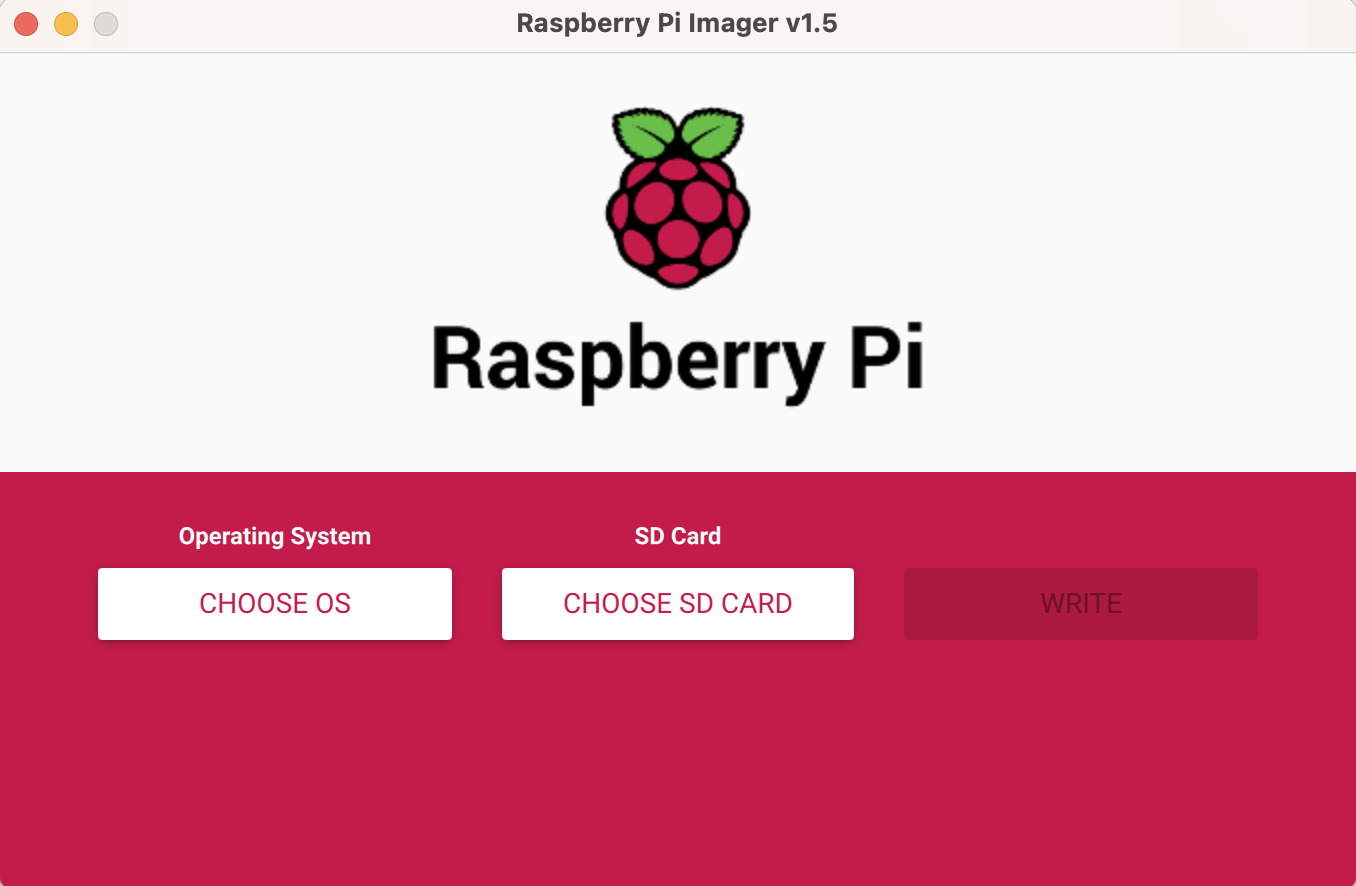
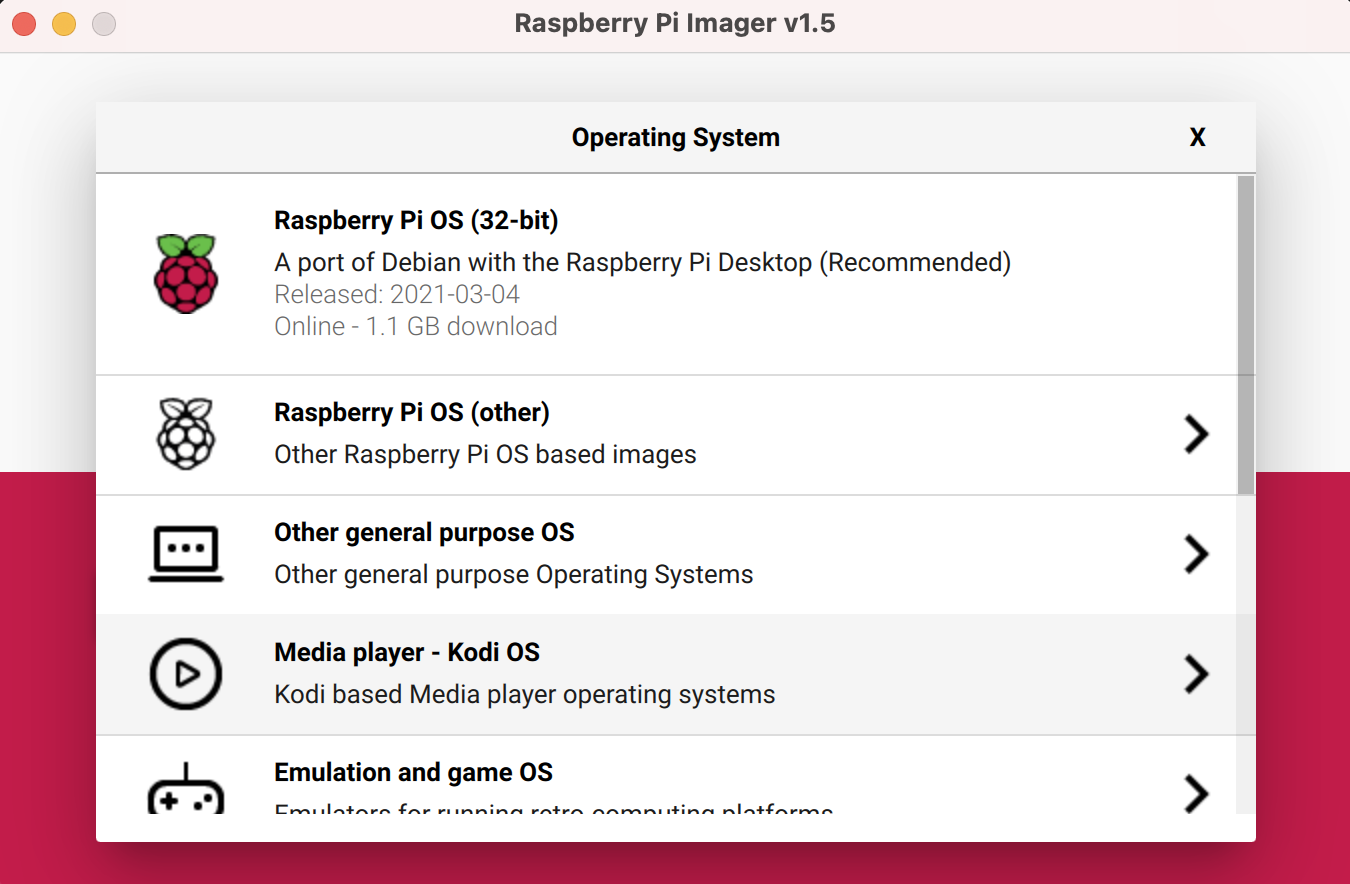
Once you've downloaded and installed it, to pick the OS you'd like to use, click on Choose OS. For a basic setup, select the 1st option Raspberry Pi OS.
Then, click on Choose SD Card to select your SD card, and finally, click Write, and wait for the OS to be loaded onto the card.
At this point, you could eject the SD card, insert it into the Pi and power it, but you won't have access to it remotely. For this, you need to activate the SSH server.
SSH Setup
With the SD card still plugged into your computer, start by creating an empty file called ssh in the root folder of your SD card.
Then, if you'd like to use the Pi with WiFi, also create a file called wpa_supplicant.conf in the same location, and paste the following snippet:
country=COUNTRY-CODE
ctrl_interface=DIR=/var/run/wpa_supplicant GROUP=netdev
update_config=1

network={
     ssid="NETWORK-NAME"
     psk="NETWORK-PASSWORD"
}
Replace COUNTRY-CODE with the ISO 3166-1 country code of your location (e.g. US if you're in the United States).
Then, replace NETWORK-NAME and NETWORK-PASSWORD with your network details.
Once this is done, you can eject the SD card, insert it into the Pi and power it up.
Connecting via SSH
When the Pi boots up, you should be able to connect to it from your computer. Open a terminal window and write the following command:
(For Mac)
ssh pi@raspberrypi.localThis can take a few seconds and if you are asked for a password, the default one is raspberry. If you want to change it to a custom one later on, type passwd.
If the connection is successful, you should see the following in your terminal:

You should now be able to run bash commands in your computer's terminal and control your Pi!
However, you might want to have access to the Pi's Graphical User Interface. For this, you will need to install VNC Viewer.
VNC viewer
After installing the software, run the following command in your terminal to get the Pi's IP address:
hostname - IYou should see something along the lines of 115.206.142.68.
Copy it, and paste it in the search bar of VNC Viewer.
Press the Enter key and you should be prompted for a username and password:
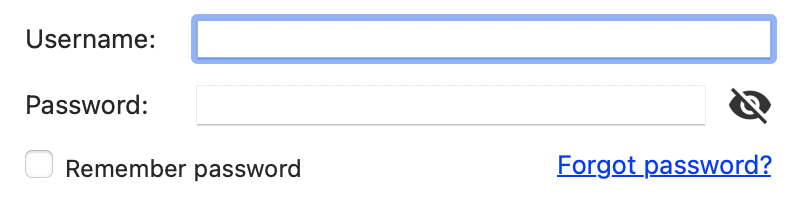
You need to enter the username and password of your Pi, so if you have not configured custom ones, the username should be pi and the password raspberry.
Click ok and a pop-up window should open showing the Pi's GUI!
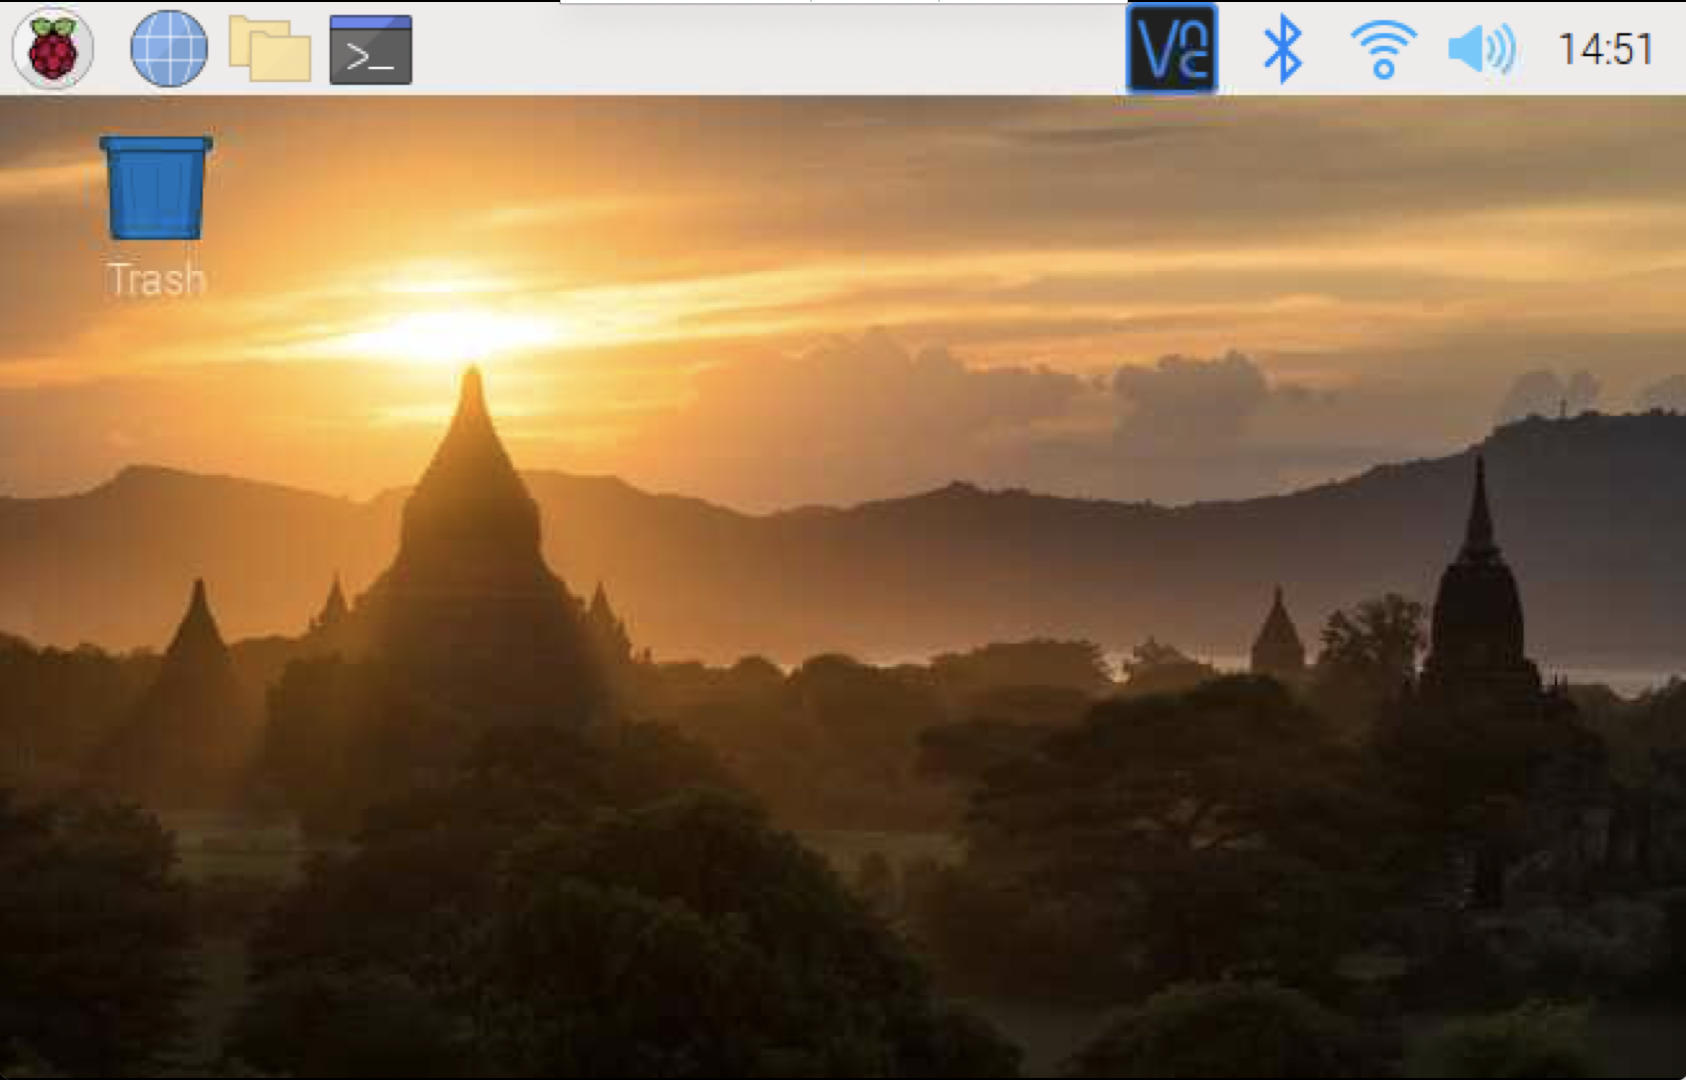
From there, you should be able to do anything you would normally do when using the PI with a keyboard and monitor. 😃
That's it! 🥳
One thing to note is that if you do not change your configs to set a static IP address, it will change everytime you turn your Pi on/off and you will probably have to run hostname -I every time you re-connect to the device. If you want to know how to set a static IP address, here are the docs.
Hope it helps!